(Original creator: Jasper)
In Uniface 9.7 we added powerful options to modernize your Uniface application without having to change your code.
Many applications need to run on many desktops and for our Value Added Resellers it may even run at various customer sites. Sometimes it is even a requirement that these sites use different color settings and logo’s. If you have to maintain this customized look using the Property Forms of the Uniface Development Environment it takes a lot of effort. In Uniface 9.7 we took steps to make this easier:
- We added new properties on the entity level that will enable you to make an entity (area) look nice.
- We added a mechanisme to set these properties for individual entities in the .ini file, so outside of your code.
- We made all graphical entity properties available for Area Frames too. These are only available from the .ini file.
Bookstore Form without styling:
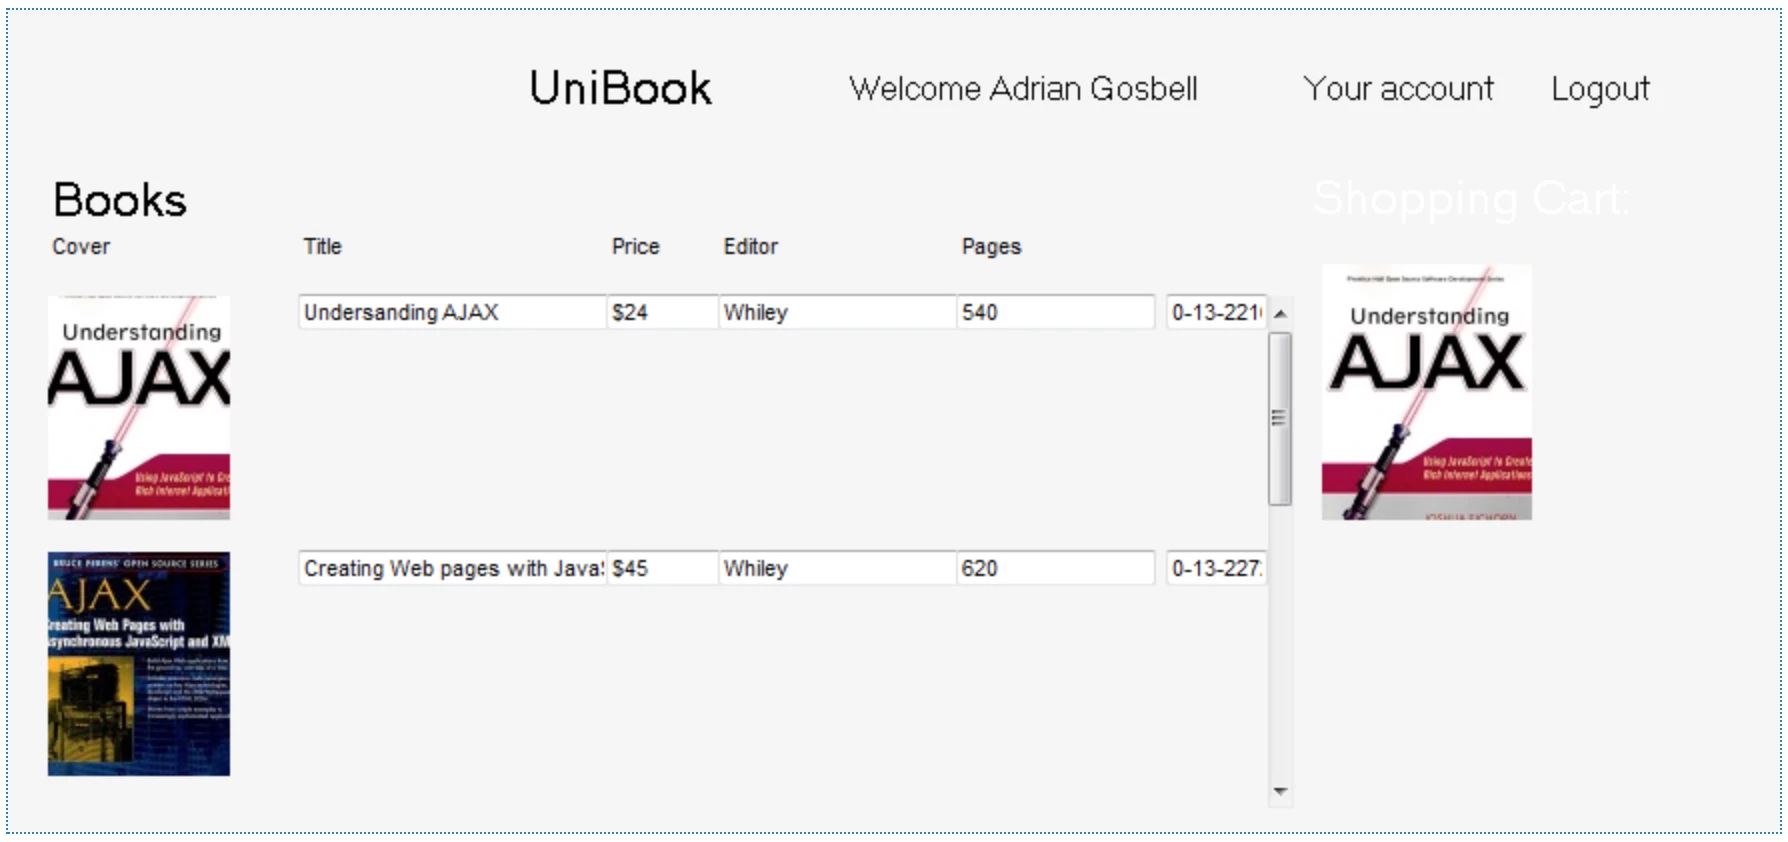
Same Form with styling in .Ini file:


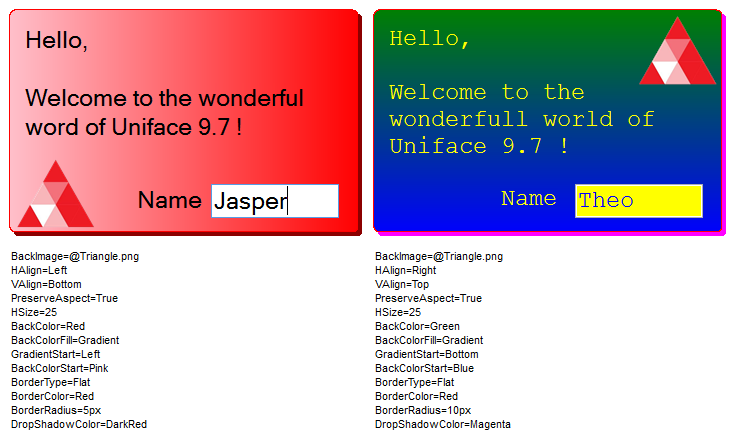
The following example shows how areas on a form can be highlighted with a kind of card layout:


The Properties
There are properties for the border, the color, and image for the area frames and entities. Some of them are already exists for Shells, Windows or Entities in Uniface. The new property names “borderradius” and “bordercolor” are taken from the W3C standards on CSS.
Border Properties
BorderType You can give your Entity or Area Frame different types of border.
- Flat The border is one pixel in size and falls inside the area frame. This means that fields painted at the inner edge of a frame area overwrite the border. By default the border is darkgray. You can customize a Flat border with the BorderColor and BorderRadius properties.
- Groove A groove border shows an edged border with a width of 2 pixels and falls inside the area frame. There is no gap between the colored area and the border.
The border that you can set in the Form Painter is separate from this and still works as it did. If you have a border in the Form Painter and have specfied the BorderType property, you will see both. BorderColor When you have specified BorderType=Flat, you can set the color of the border with BorderColor. BorderRadius When you have specified BorderType=Flat, you can set BorderRadius to give the border round corners by specify the number of pixels for the radius. DropShadowColor When you specify a DropShadowColor, your frame will be displayed with a shadow effect in the specified color. 
Background Color Properties
BackColorFill Defines whether the BackColor is shown as a solid color (BackColorFill=Flat) or as a gradient color (BackColorFill=Gradient). Flat is the default. BackColorStart When BackColorFill has been set to gradient, the color by default runs from white to the specified background color. With BackColorStart you can make the gradient start from any other color. GradientStart When you have specified BackColorFill=Gradient, you can use GradientStart to specify whether you want to start the gradient from the Top (default), Bottom, Left or Right. 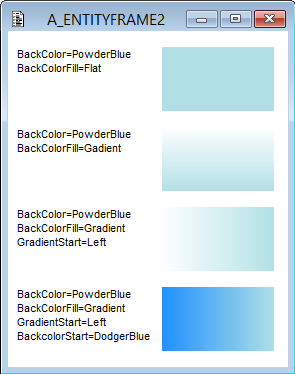
Background Image Properties
BackImage With BackImage you can specify an image that will be displayed as the background for the whole Entity or Area Frame. (Not per occurrence.) HAlign Set HAlign to Left, Right or Center to position the image horizontally. HScale Set HScale to a percentage to scale the image. Default is 100 (no scaling is applied). PreserveAspect Set PreserveAspect to True to preserve the aspect ratio of the image. The default is False. VAlign Set VAlign to Top, Bottom or Center to position the image vertically. VScale Set HScale to a percentage to scale the image. Default is 100 (no scaling is applied).
>
Attach Property
The Attach property now also works on entity and area frames. All values (left,right,top,bottom, hmove, vmove, hsize, vsize) are supported. So in combination with setting the attach properties on fields, you can make resizable areas on your Forms: 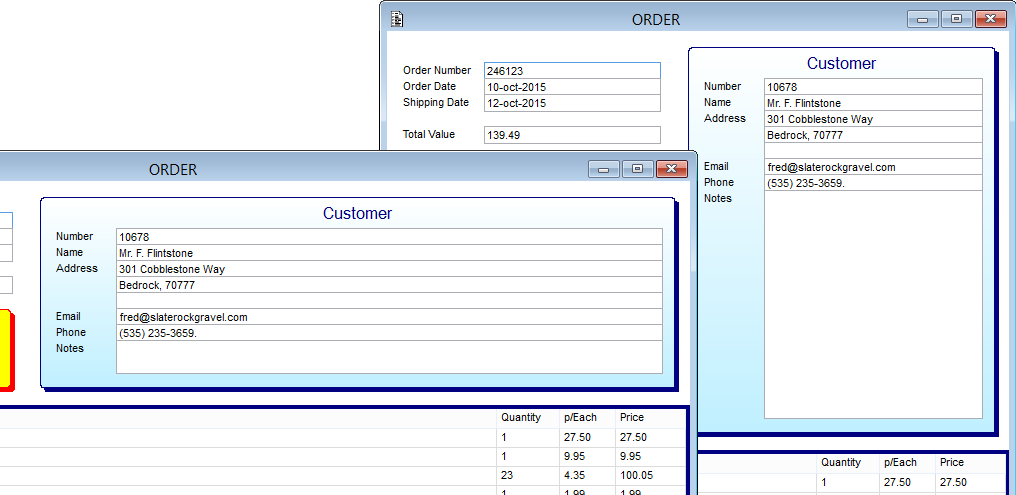
Setting the Properties
Altough the Entities and Area Frames have the same new properties, there are differences in the ways in which you can apply these properties.
Setting the Properties on Entities
Proc Code You can set properties on entities using the familiar $entityproperties function. All new properties are dynamic so you can change colors etc. at runtime. Property Form For the Entity, some of the properties that are discussed in this blog already exist. You can set them on the Property Form for the Entity in the Development Environment. The really new properties can be set on the More Properties form. 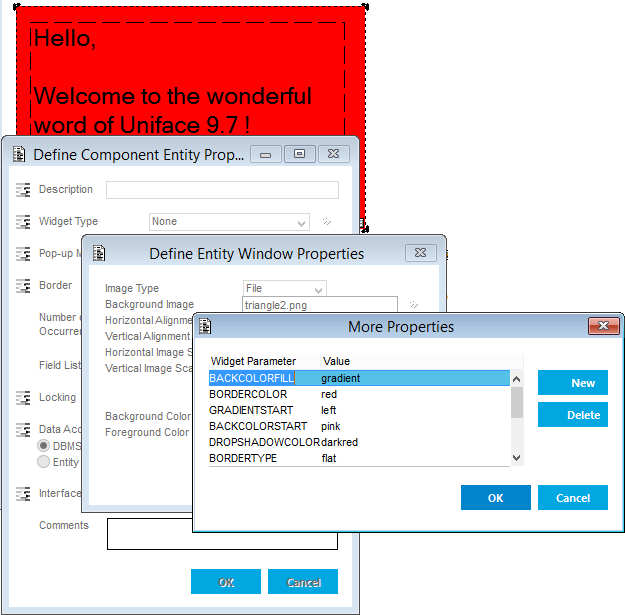
.Ini file In the .Ini file, the properties for entities can be set in the [entities] section. Assigning properties to DefEntity applies them to all Entities in your application:
[entities] DefEntity=udefentity(Properties)For example, give ALL entities a border: DefEntity=udefentity(BorderType=Flat;BorderColor=Black) The practical value of setting the same properties on all entities is quite limited in a real application, so we also made it possible to set the properties in a more precise manner:
Entity{.Model{.ComponentName}}=udefentity(Properties)For example, give the Customer entity a color on all Forms: CUSTOMER.INSURANCE=udefentity(backcolor=powderblue;bordertype=Flat;bordercolor=navy;borderradius=6px)
Setting the Properties on Area Frames
For Area Frames, the properties are exclusively controlled through the .Ini file. You set them in the [areaframes] section. One option is to assign properties to "Frame". The name “frame” is a special frame. This one is used for all frames that do not have a name or are not in the list of area frames in the usys.ini. This is necessary to allow an existing application to be "pimped" without renaming existing area frames. In most cases, the area frame does not have a name because the developer never gave it one.
[areaframes] Frame=uframe(properties)For example make all Area Frames blue: Frame=uframe(backcolor=powderblue) We also made it possible to set the properties in a more precise manner:
[areaframes] FrameName{.ComponentName}=uframe(Properties)For example give the INFO Area Frame a border on every Form: INFO=uframe(BorderType=Flat;BorderColor=DodgerBlue) Or give all Area Frames on Form CUST001 a shadow: Frame.CUST001=uframe(DropShadowColor=Navy) Or give the INFO Area Frame on CUST001 some properties: INFO.CUST001=uframe(BorderType=Flat;BorderColor=DodgerBlue;DropShadowColor=Navy)
Named Area Frames The concept of named Area Frames may not sound familiar to you. In Uniface it always has been possible to rename area frames in the Form Painter, but it had practical use only when printing. Area frames can have a name, which is used to address them from the usys.ini. The name can be changed in the Form Painter, and does not have to be unique. In the Form Painter you paint an area frame: 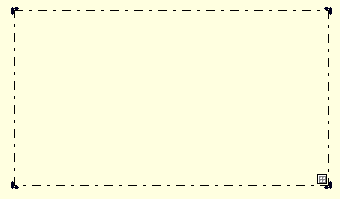
Then right click it: 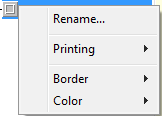
Then select Rename: 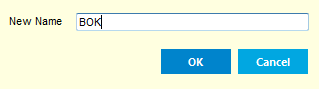
Assuming that we have this in our .Ini file:
[areaframes] bok=uframe(backcolor=dodgerblue;backcolorfill=gradient;dropshadowcolor=gray;backcolorstart=lightyellow;borderradius=20px;backimage=@4balls.png;valign=bottom;halign=left;PreserveAspect=TRUE;hscale=50;vscale=50)When you click OK, you get the following in the GFP: 
Considerations
Attach Property The widgets inside the area do NOT inherit the Attach property of the area. So if the widgets need to move with the area, you need to give them an Attach property too. Printing The properties are ignored when the area frame or entity is printed. The scope is the GUI only. Color Inheritance Fields or widgets on top of the areaframe or entity will only inherit the backcolor property value and do NOT take the gradient into account when inheriting the color. Form Painter The Form Painter will display entity and area frames with the properties that are set in the .ini file. You will NOT see the effect of the properties set in the More Properties form.
Example
Same Entity, different properties: