


-
In the Start menu, click the Server Manager tile, and then click OK.
-
In Server Manager, select Dashboard, and click Add roles and features.
-
In the Add Roles and Features Wizard, on the 'Before You Begin' page, click Next.
-
On the 'Select Installation Type' page, select Role-based or Feature-based Installation and click Next
-
On the 'Select Destination Server' page, select a server from the server pool, select the server, and click Next.
-
On the 'Select Server Roles' page, select Web Server (IIS).

-
Click next 3 more times to reach the 'Role Services' page.
-
Expand 'Web Server' > 'Application Development' and check the 'CGI' box. Click next.
-
On the 'Installation Progress' page, confirm that the installation of the Web Server (IIS) role and required role services completed successfully, and then click Close.
-
To verify that IIS installed successfully, type the following into a web browser:
http://localhost
The default IIS Welcome page should appear.
-
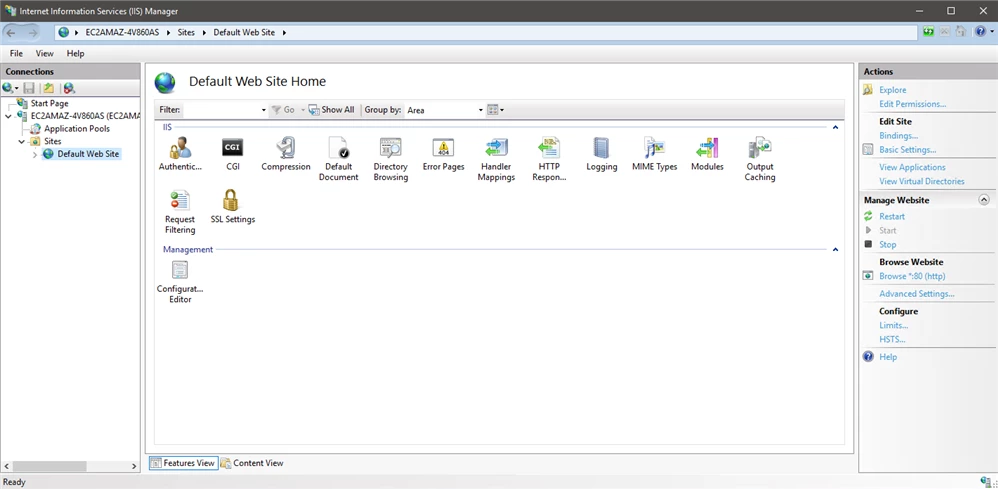
Start 'Internet Information Services (IIS) Manager' and click the "Default Web Site" in the Connections Panel (left).
-
Double click the "Handler Mappings" icon in the Home panel (center).
-
Double click the "CGI-exe" item and an "Edit Script Map" pop-up window will appear.
-
Type '*.acu' in the "Request path" field.
-
Type C:\\PathTo\\AcuGT\\bin\\wrun32.exe -f %s in the "Executable" field.

- Click "OK" to close the "Edit Script Map" pop-up window.
-
This will trigger an "Edit Script Map" question asking to allow this ISAPI extension. click "Yes".
-
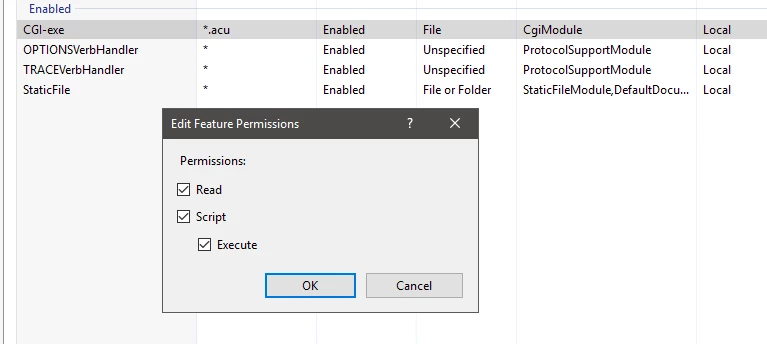
Right click on the CGI-exe entry that was edited in the previous step and select 'Edit feature permissions'.
-
Make sure the 'Execute' check box is enabled then click OK.
- At this point, follow the setup instructions for the cgi/oscars.acu sample program.
#Information
#HowTo
#TipfromSupport
