


Editor Features
Viewing Copy Files
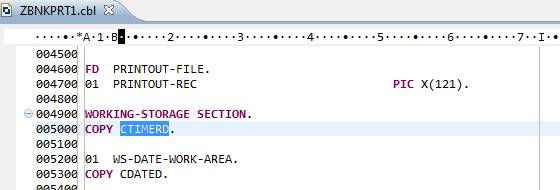
1. Move down the document a short way to see some COPYstatements around line 5000.

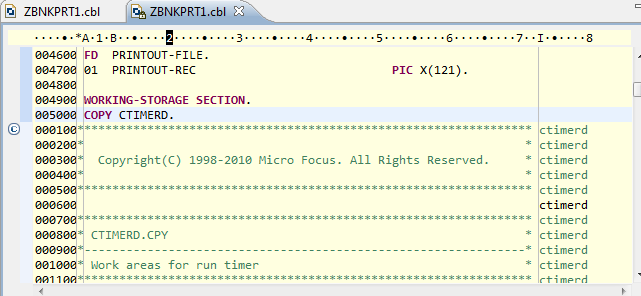
2. Press F4 to see those copy statements expanded in place.
You will see that 3 things have happened
a. All the copy files have been expanded in line with the program
b. This version of the file has a background color of yellow, which indicates that it cannot be edited. (This is to prevent you accidentally editing copy files. To edit a copy file you need to be explicit, as shown in the next section).
c. Two versions of the file are now in the tabs in the working window. One is the original unexpanded editable version and the other this expanded version.
3. From the expanded version press F4 once more. This will switch you back to the unexpanded editable view.
Editing Copy Files
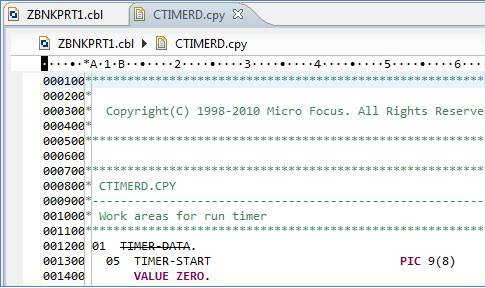
4. In order to edit a copy file you first need to position the cursor on the COPY statement and then press F3. This will open an additional tab in the working window showing your copy file in editable form.
5. Note the two tabs. You will see in the copy file tag, this is the view of this copy file inside the COBOL program.
Unused data
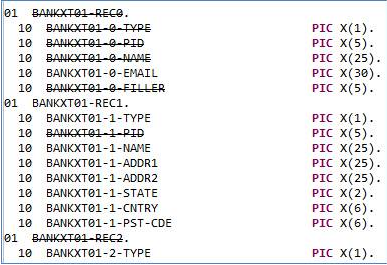
6. You will notice that some data items in data division are crossed out. That is because they are not referenced directly in procedure division. Be careful though. Don't be tempted to remove these data items from your code without being sure. If the data item is inside a copy file, then other program may be using them.
Program outline
7. Press Ctrl/O anywhere in the COBOL source to produce a Quick Outline of your program.
8. Press Ctrl/O once more, to see a more detailed outline
9. Clicking on any item in the outline takes you to the line of code that this outline refers to. After doing this, the quick outline disappears.
10. To see a permanent outline view, from the menu, select Window, Show View, Outline and the Outline window is attached as a new pane in your interface.
11. Expand and contract various lines in there.
12. Click on a line to see how it takes you to the editor window.
13. Also you will see if you click on a line in the program, it will take you to the relevant place in the outline.
14. In the outline you can switch to a physical sequence or an alphabetical sequence by click on the a-z button. Using these various functions allow you to navigate smoothly around your code, finding the items you want very quickly.
Hyperlinks
15. Back into the editor window move down somewhere in procedure division.
16. Hold the Ctrl key down and move your mouse around the code. You will see that hyperlinks are created to data items and paragraph names.
17. Click one of these hyperlinks to see how you are taken to either the data item definition or the paragraph.
Breadcrumbs
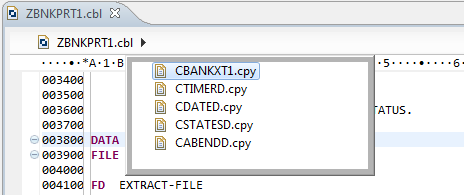
18. At the top of the IDE you will see an icon 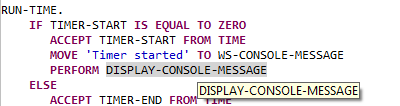 which is the Toggle Content Breadcrumbs icon. When this is turned on you will get another view of the program showing copy files. Click on the arrow to the right of the program name to see a list of copy files used in the program.

This can be used, not only to see the copy file hierarchy of the program, but to move quickly to the copy file itself by clicking on it.
19. Click on one of these copy files to see it opened in a new Editor tab
Marking text and block mode
20. If you use the mouse (or cursor keys with the shift key pressed) to mark a block of text you will get the result shown here.
21. If you toggle the Block Selection Mode icon 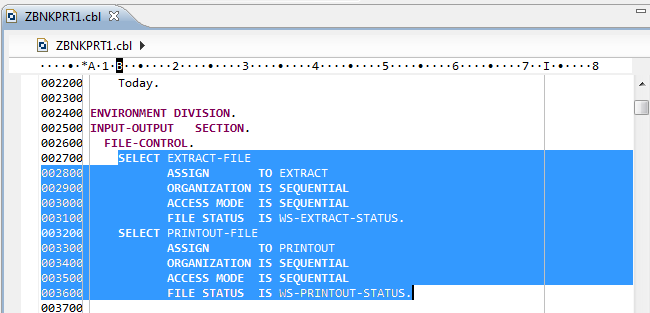 you will get the following:

22. Any Cut or copy operations are now performed on the block you have selected.
23. Copy and pate information as needed.
Next: Smart Editing features
#MFDS
#EnterpriseDeveloper
#Eclipseeditorfeatures
