


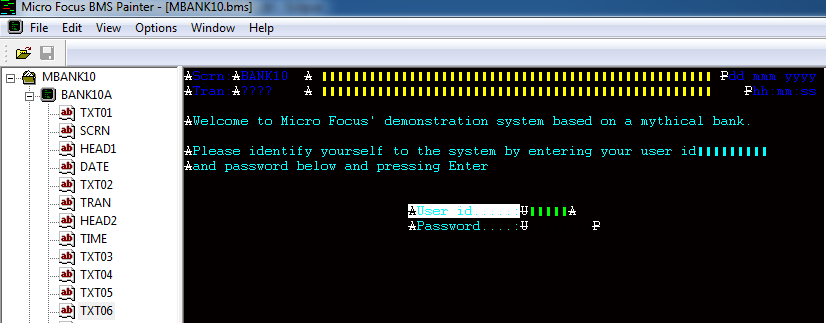
Recognising fields
You will see that fields on the screen have a start byte showing on the screen. So if you double-click on "User id . . ." for example, the filed is highlighted and the definition of the filed can be seen at the left of the window.

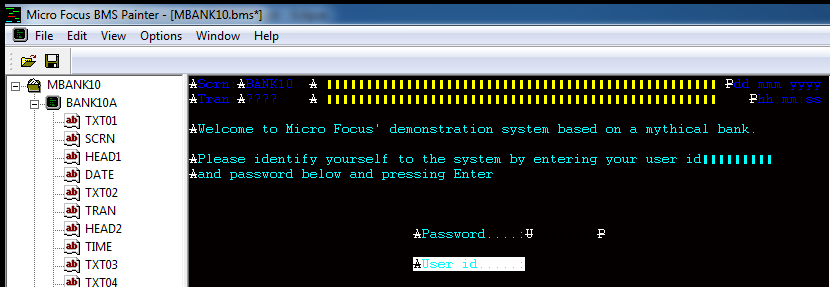
Moving fields
To move a field somewhere else on the screen:
3. Double-click the field to mark it
4. Drag the field, using the mouse, to the desired place on the screen
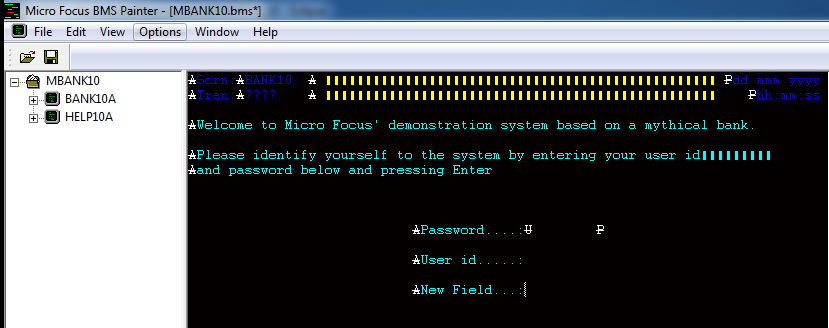
Adding new text fields
To add a new text field simply click the mouse on the desired start location for the text field and start typing.
If you double click on your new field you can see it has been added into the field list on the left hand side as "static text".
Deleting a field
To delete a field either right-click on the visible field or right-click on the field definition and then select delete.
Adding new data fields
To create a new data field first click the mouse on the desired start location. Then right-click and select Add Field
A stopper byte is now shown on the screen. At present this is regarded as a "static text" field. Right click on this field and select properties
At present this field has a length of 0. Change this to the required field length (5 say).
This will now allow you to give the filed a name (FTEST say)
For now we will leave the other defaults as they are and click OK.
Field Properties
There is a data field alongside the "User id" text field. This is a data field and its name is USERID
Right-click on the field and select Properties
You can see here how various properties can be set. Look at the Other tab to see additional properties.
Check out the properties of one of the fields at the top of the screen to see how the properties are defined. Also check out the protected field at the foot of the screen.
Next: Creating MAPS
#BMSfields
#EnterpriseDeveloper
#MFDS
